- Usage
- Operating the Wipe module
Operating the Wipe module
Once any dark anomalies in the data have successfully been dealt with, operating the Wipe module is fairly straightforward.
To get started quickly, a number of presets cover some common scenarios;
- 'Basic' is the default for the Wipe module and configures parameters that work with most well calibrated datasets.
- 'Vignetting' configures additional settings for vignetting modelling and correction.
- 'Narrowband' configures Wipe for narrowband datasets which usually only need a light touch due to being less susceptible to visual spectrum light pollution.
- 'Uncalibrated 1' configures Wipe for completely uncalibrated datasets, for cases where calibration frames such as flats were - for whatever reason - not available. This preset should be used as a last resort.
- 'Uncalibrated 2' configures Wipe for poor quality, completely uncalibrated datasets. The settings used here are even more aggressive than 'Uncalibrated 1'. This preset too should only be used as a last resort.
Internally, the module's engine models three stages of calibration similar to an image stacker's calibration stages;
- synthetic bias/darks modelling and correction (subtraction)
- synthetic flats modelling and correction (division)
- gradient modelling and correction (subtraction).
Any issues specified and/or detected are modelled during the correct stage and its results feeds into the next stage.
Synthetic bias/darks modelling
The Wipe module is able to detect horizontal or vertical banding and correct for this. Multiple modelling algorithms are available to detect and mitigate banding.
A defective sensor column repair feature is also available that attempts to recover data that was transposed but not lost, rather than interpolating or 'healing' it using neighbouring pixels.
Synthetic flats modelling
The Wipe module is able to quickly match and model a natural illumination falloff model to your dataset with correction for cropping and off-axis alignment.
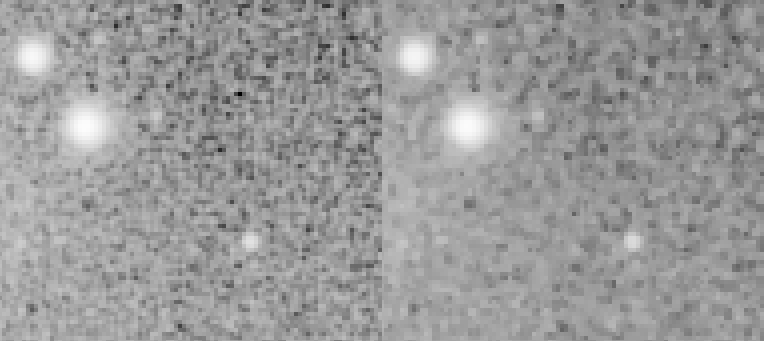
Fixed pattern noise and correlated artifact filtering
The 'Correlation Filtering' parameter specifies the size of correlation artifacts that should be removed. This feature can ameliorate correlation artifacts that are the result of dithering, debayering or fixed pattern sensor cross-talk issues. Correlated noise (often seen as "worms", "clumps", or hatch-pattern like features) and related artifacts will look like detail to both humans and algorithms. By pre-emptively filtering out these artifacts, modules will be able to better concentrate on the real detail in your dataset and image, rather than attempting to preserve these artifacts.
The usage of this filter is most effective on oversampled data where the artifacts are clearly smaller than the actual resolved detail.
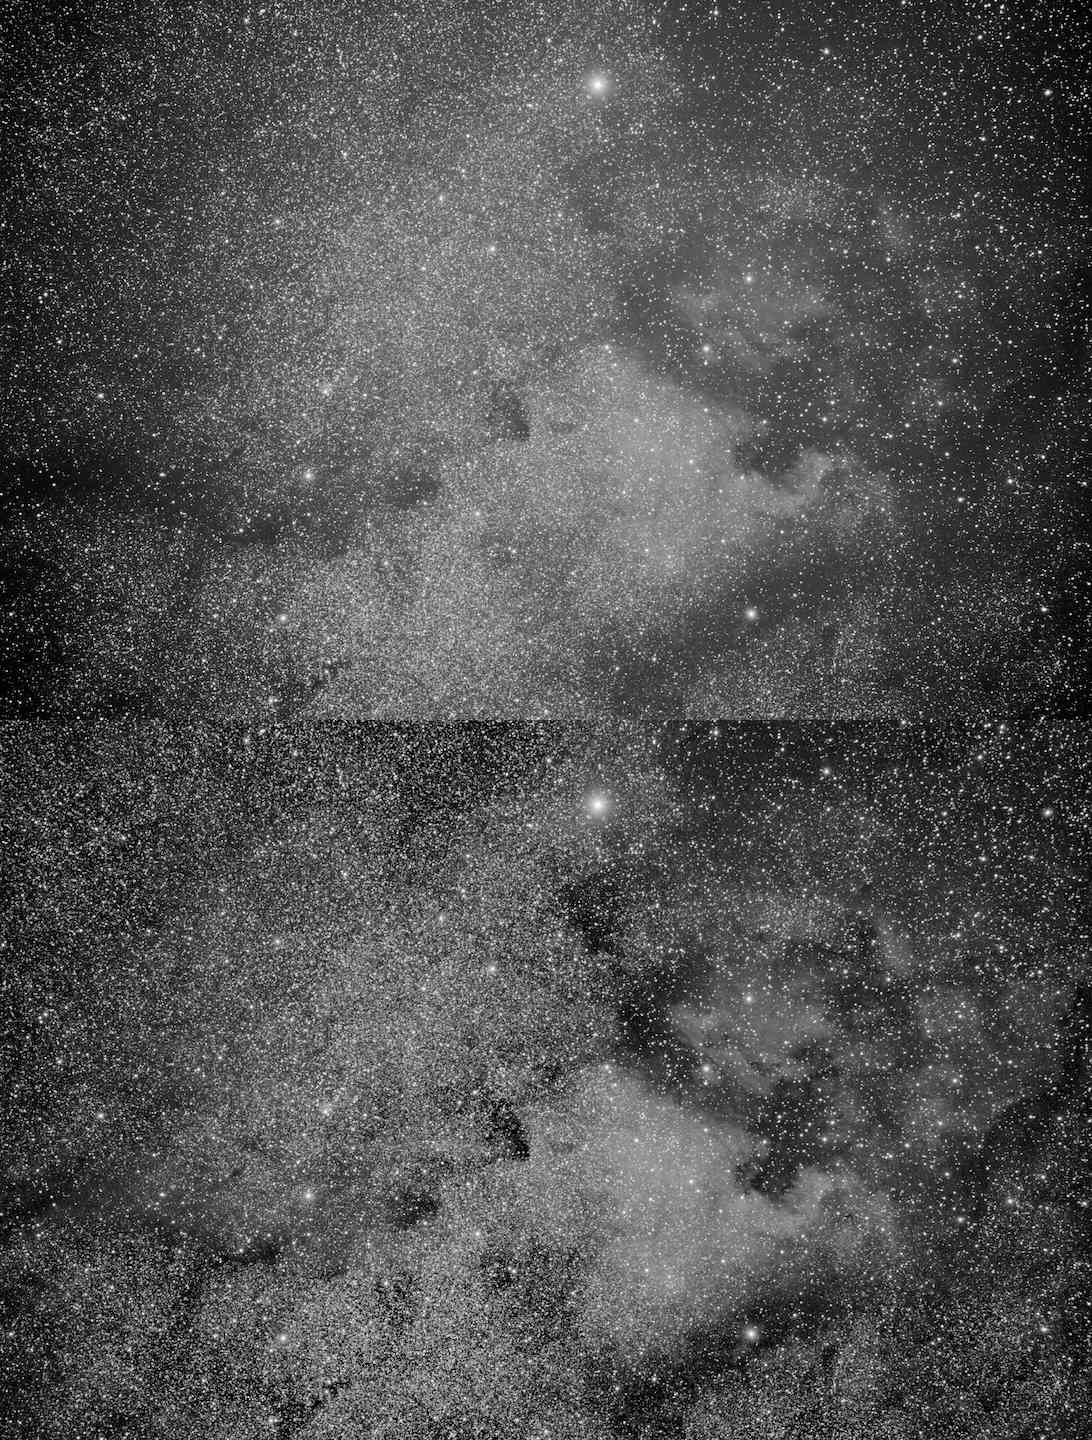
Gradient modelling and subtraction
Wipe discerns gradient from real detail by estimating undulation frequency. In a nut shell, real detail tends to change rapidly from pixel to pixel, whereas gradients do not. The 'Aggressiveness' specifies the undulation threshold, whereby higher 'Aggressiveness' settings latch on to ever faster undulating gradients. At high 'Aggressiveness' settings, be mindful of Wipe not 'wiping' away any medium to larger scale nebulosity. To Wipe, larger scale nebulosity and a strong undulating gradients can look like the same thing. If you are worried about Wipe removing any larger scale nebulosity, you can designate an area off-limits to its gradient detection algorithm, by means of a mask that masks out that specific area. See the 'Sample revocation' section for more details.
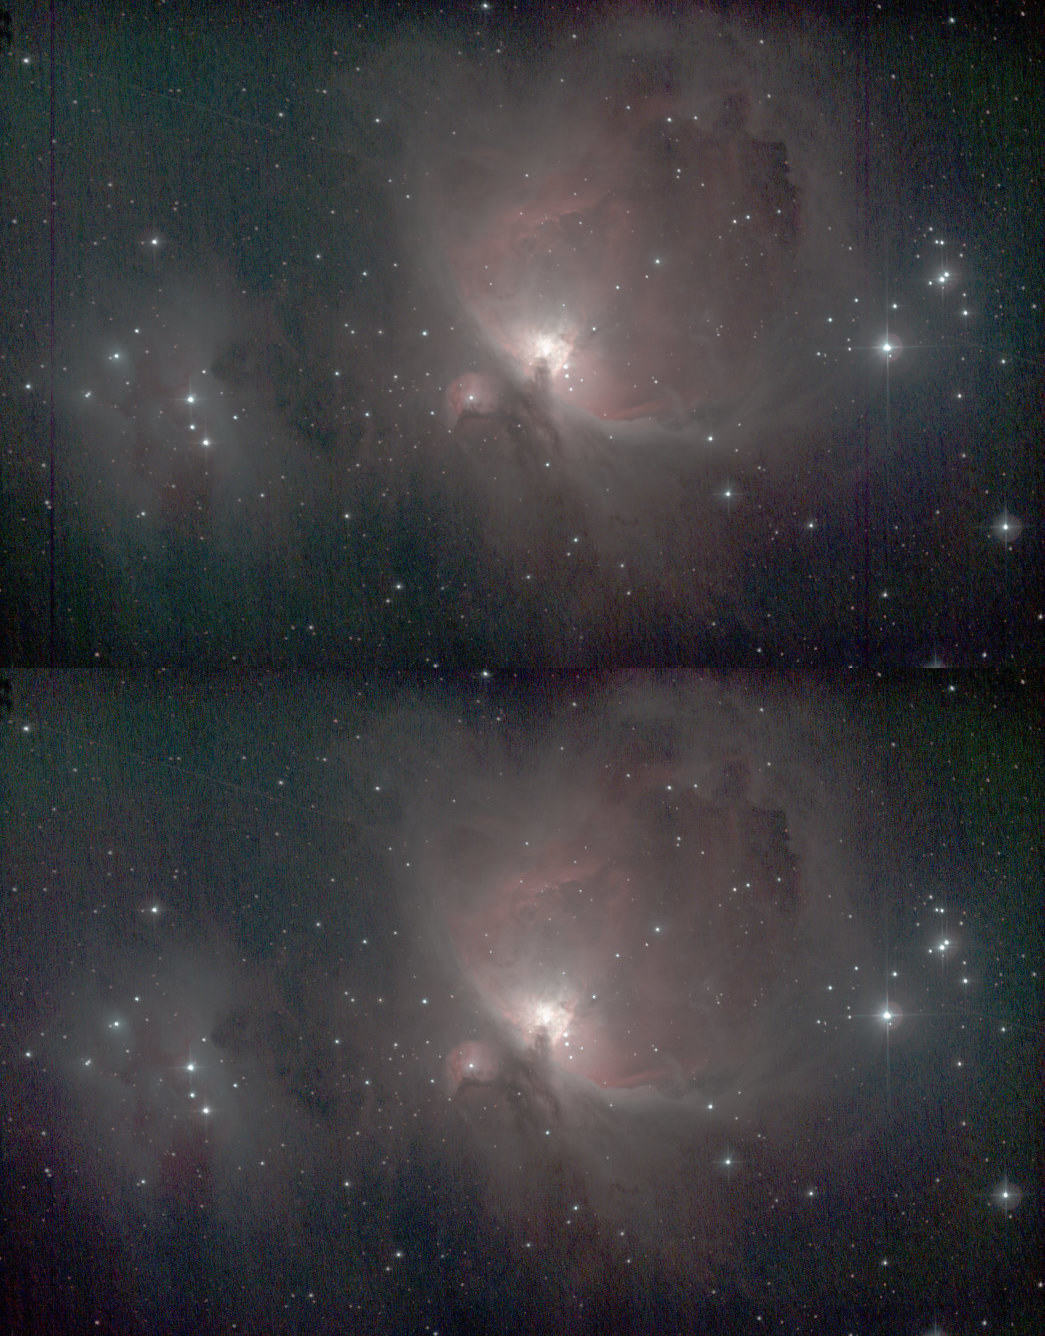
After Wipe
Because Wipe's impact on the dynamic range in the image is typically very, very high, a (new) stretch of the data is almost always needed. This is so that the freed up dynamic range, previously occupied by the gradients,can now be put to good use to show detail. Wipe will return the dataset to its linear state, however with all the cleaning and calibration applied. In essence, this makes a global re-stretch using AutoDev or FilmDev is mandatory after using Wipe. From there, the image is ready for further detail recovery and enhancement, with color calibration preferably done as one of the last steps.
The diagnostics stretch
Because Wipe operates on the linear data (which is hard to see), a new, temporary automatic non-linear stretch is reapplied on every parameter change, so you can see what the module is doing. The diagnostics stretch is designed to show your dataset in the worst possible light on purpose, so you can diagnose issues and remedy them. The sole purpose of this stretch is to bring out any latent issues such as gradient, dust donuts, dark pixels. That is, it is entirely meant for diagnostics purposes inside the Wipe module and in no way, shape or form should be regarded as a suggested final global stretch.
Automatically separated luminance and chrominance datasets
If Compose mode is engaged (see Compose module), Wipe processes luminance (detail) and chrominance (colour) separately, yet simultaneously. If you process in Compose mode (which is recommended), you should check both the results for the luminance and chrominance portion of your image. Before keeping the result, the Wipe module will alert you to this once, if you have not done so.
You may also be interested in...
- The power of temporal 3D (X, Y, t) signal processing (under Tracking is signal preservation)
And all this is just what Tracking does for the deconvolution module.
- Flux: Automated Astronomical Feature Recognition and Manipulation (under Features & Documentation)
It doesn't stop there however – the Fractal Flux module can use any output from any other module as input for the flux to modulate.
- Filter: Feature Manipulation by Colour (under Features & Documentation)
The Filter module allows for the modification of features in the image by their colour by simply clicking on them.
- Usage (under Filter)
A 'Filter Mode' parameter selects the mode of the filter.
- Usage (under FilmDev)
Central to the module, is the 'Digital Development' parameter, which controls the strength of the development and resulting stretch.