
AutoDev with AstroZeugs' M81/M82 dataset
Wed Mar 3 0:55:21 UTC 2021
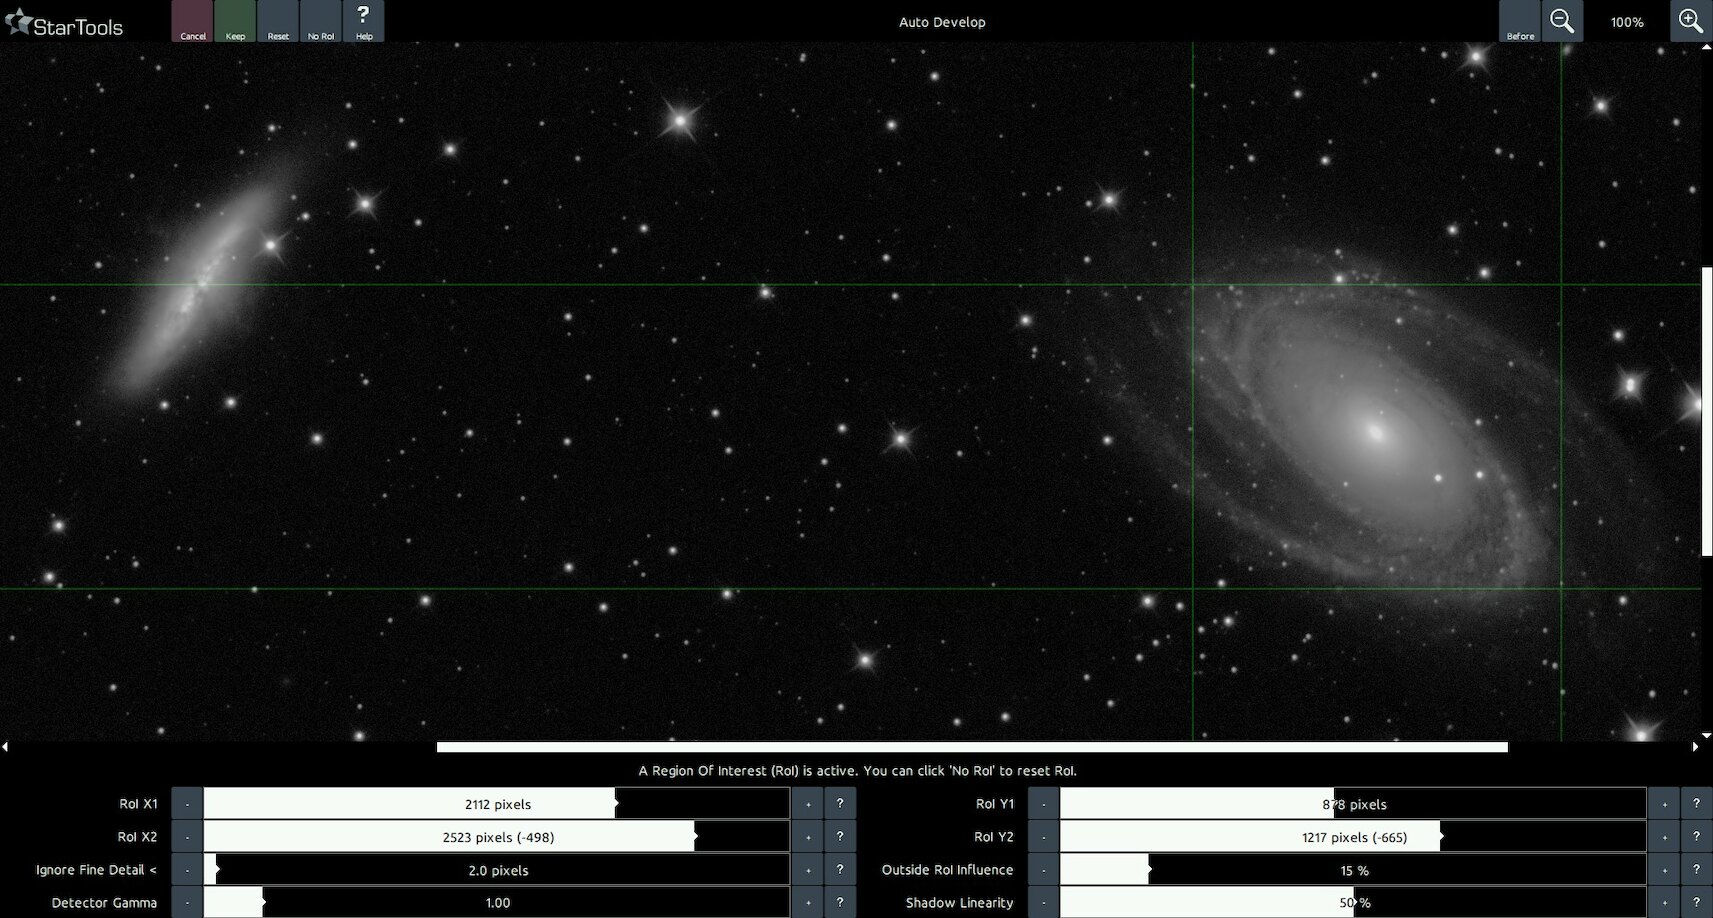
This is a short tutorial/examination of Astrozeugs' dataset, which he so kindly provided along with this YouTube video.
For a download link to the dataset, please see the video description. This short article is to help demonstrate AutoDev and explain what it is doing (and why) using Astrozeugs' dataset.
While there are some issues with this dataset that can impact AutoDev's behavior, AutoDev is still reasonably robust.
For completeness' sake, the issues are as follows;
- Channel misalignment is causing color fringing in the chrominance (color) domain, and causes variable point spread functions (e.g. stellar profiles) in the luminance (detail) domain.
- The noise signature in the dataset is rather heavily correlated; some sort of fixed pattern noise is visible as a correlated "wormy" noise grain. Fixed pattern noise is a sensor attribute that is normally solved by dithering. However if dithering was performed, it may be that the grain is baked into the calibration frames and then becomes imprinted on the individual light frames during calibration and stacking. The correlated noise grain will cause many algorithms to latch on the "strings"/"worms" as detail. That said, for this excersise, after a 50% bin this will not impact AutoDev much.
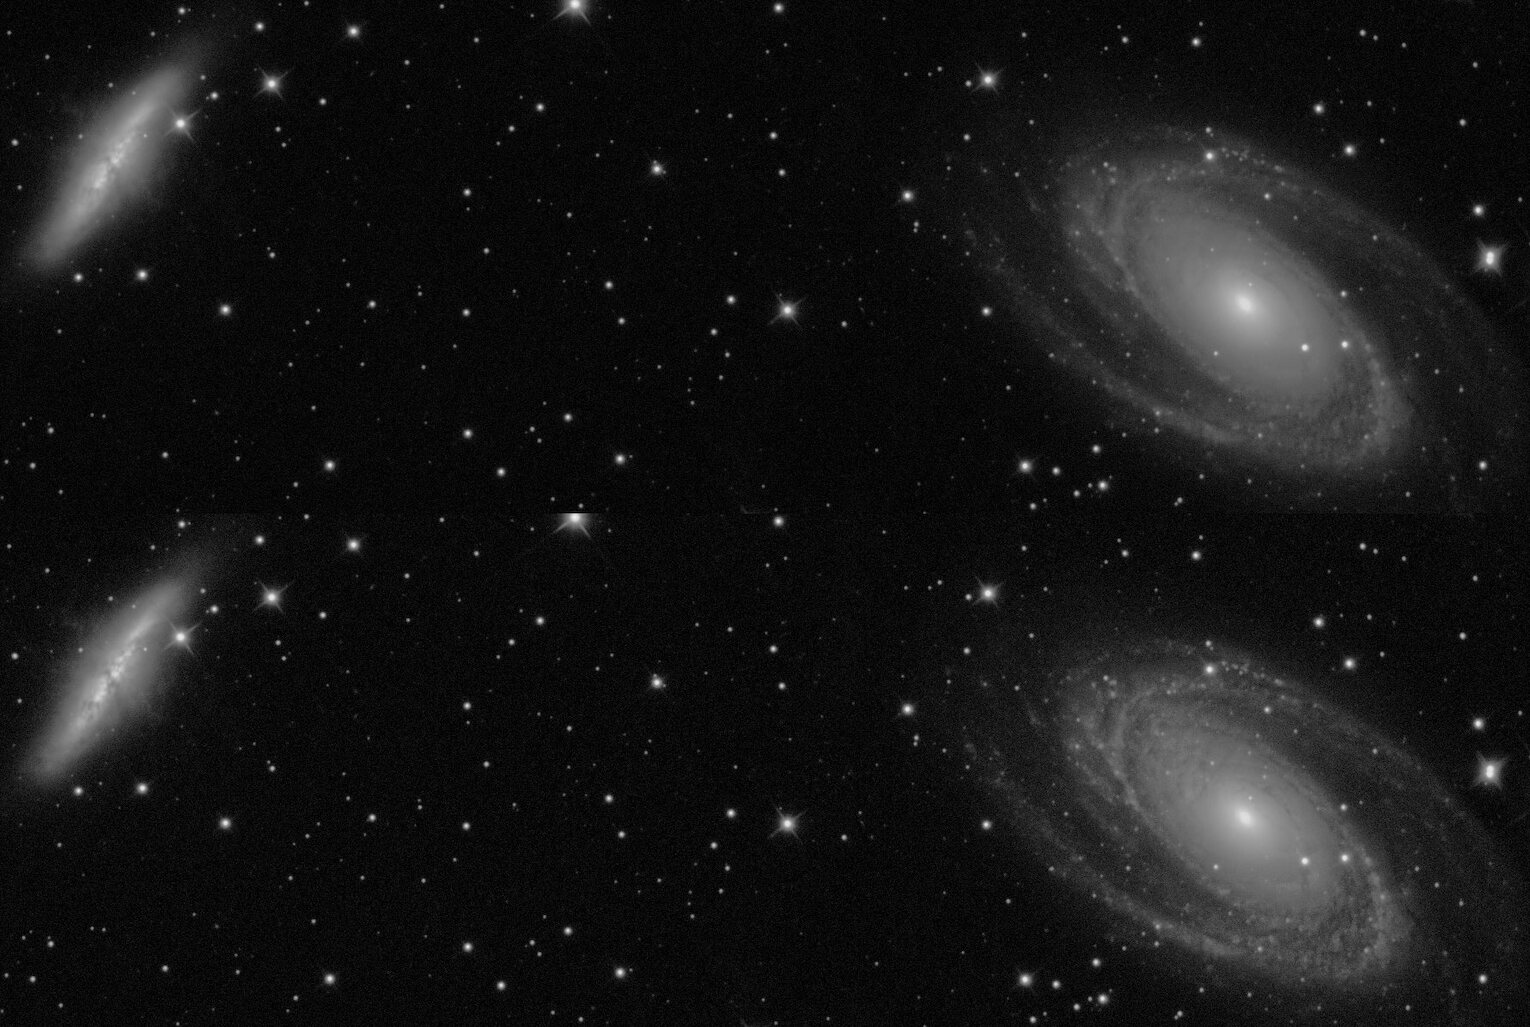
To get the dataset to the stretching stage (for detail purposes), the following actions are performed;
- Initial AutoDev with default settings (no tweaks or RoIs are needed or desired at this stage) to see what we got and visualise any problems. We can see oversampling, noise, stacking artifacts and a gradient.
- Bin the dataset to 50% X/Y (quarter resolution) make use of the oversampling and reduce noise.
- Crop to crop away stacking artifacts.
- Wipe to remove the bias and gradient ("Uncalibrated 1" preset was used).
The noise signature in the dataset is rather heavily correlated; some sort of fixed pattern noise is visible as a correlated "wormy" noise grain.
We are now ready to use AutoDev once more for the global stretch. It is important to understand the goal here. The goal is to establish the best possible global stretch that brings out all detail equally; in the shadows, in the midtones and in the highlights. In other words, we don't want to miss faint detail (for example the "tendrils" of M82), we don't want to miss midtone detail (for example the dust lanes closer to the core and that famous peculiar bar that criss-crosses M81's disc, hinting at a violent interaction in the past) and we don't want to miss highlight detail (for example M81's core, or any star cores - we don't want to blow out any of that). The 'Ignore Fine Detail <' parameter was increased a little to make AutoDev blind to the noise grain. Instead allocating dynamic range to something more useful.

Everything should be accounted for equally in the most neutral, "vanilla" way; AutoDev's job is to allocate global dynamic range in the most neutral way, picking no "winners" or "losers" yet. That is because StarTools has powerful tools to bring out al the available detail on a local level (these tools are Contrast, HDR, Sharp and - most of all - Decon).
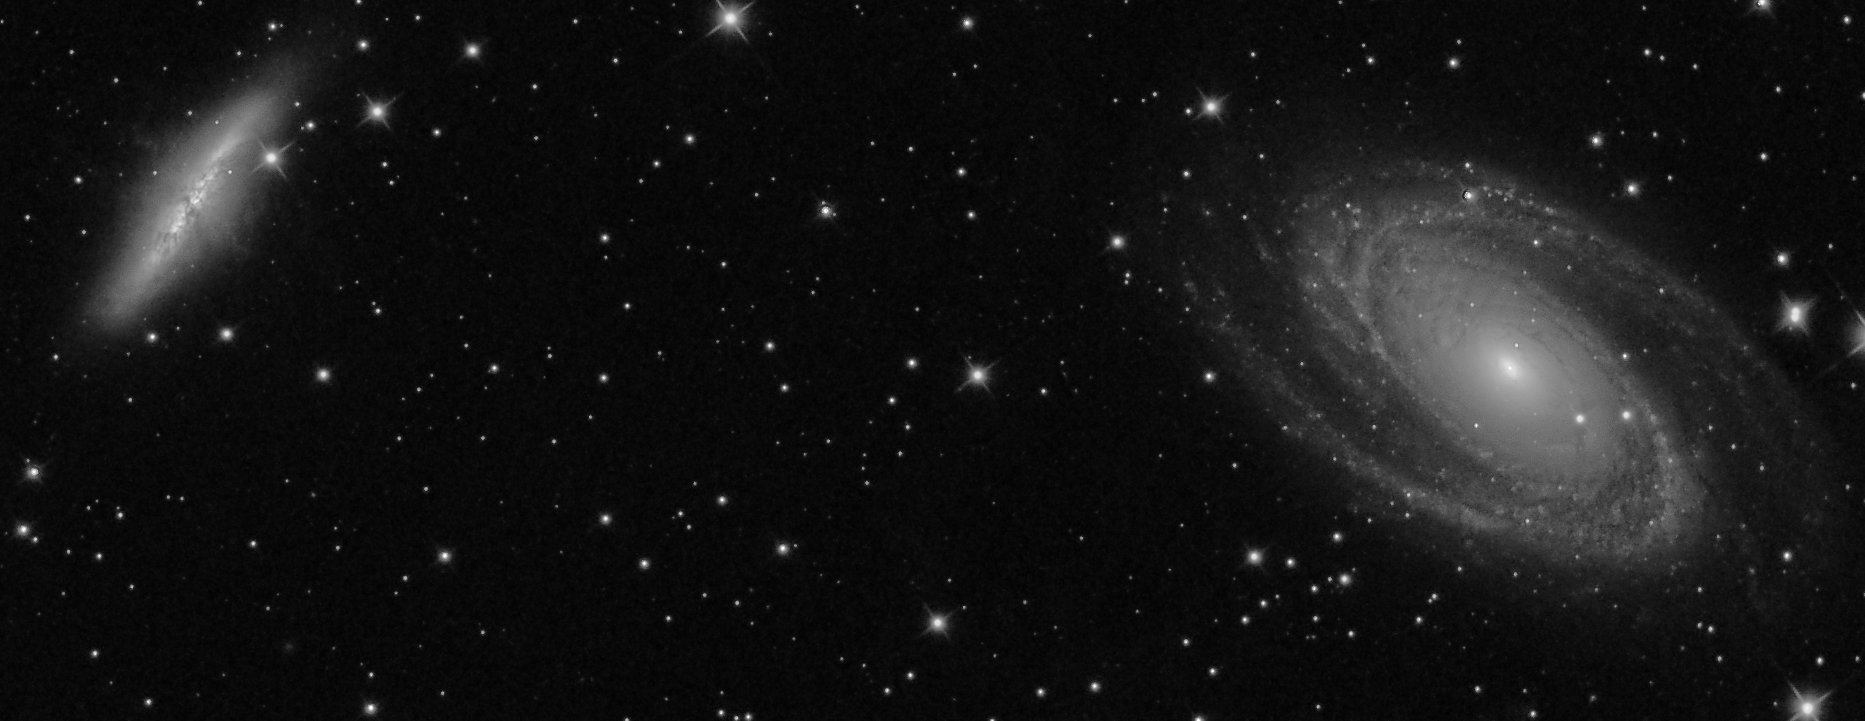
Once you we progress to detail enhancement, it should become clear why this neutral behavior is desirable. It simply gives local detail enhancement the most room to improve detail, without having to "fight" to get out of the shadows or highlights or clashing with other detail that had more dynamic range to work with simply because of where it fell in the dynamic range you allocated it.
The HDR module manipulates local dynamic range to bring out detail. The more neutral the input detail is (in other words, the more even/optimal the input dynamic range is), the less obvious the local transitions between differently treated areas become. In fact, it is usually hard to spot any such transition artifacts when AutoDev was used.
Deconvolution is the module that benefits the most of a careful dynamic range treatment; deconvolution concentrates scattered light into its correct position, requiring enough dynamic range to accommodate the very bright point lights that result, while also needing dynamic range to show the deeper darkening where energy has been taken away. AutoDev provides this needed breathing room.